HyprSpike
Elevate your Arch Linux experience with beautiful Hyprland setups that are both stunning and functional. No coding expertise required.
Quick Installation (Dotfiles)
Installation for Beginners
Prerequisites
Before installing HyprSpike, ensure you have the following:
- Arch Linux (or Arch-based distribution)
- Hyprland installed and working
- Internet Access
- Hates Windows
- Have Brain and Common Sense
Installation
Just clone the repository and then paste the .config and .local into your directory and restart. It should work.
Note
The installation script will (COME VERY SOON) and will create a backup of your existing Hyprland configuration. You can revert to your original setup at any time using the restore script.
Arch Linux Installation
New to Arch Linux? This section provides essential scripts and commands to help you get started with a proper Arch installation before setting up HyprSpike. These scripts are designed to simplify the installation process for beginners.
Getting Started
1. Connect to the Internet
First, you'll need to connect to the internet. Here are some common commands:
For Wi-Fi:
# List available network interfaces
ip link

# Bring up the wireless interface (usually wlan0)
ip link set wlan0 up

# Scan for available networks
iwctl station wlan0 scan
iwctl station wlan0 get-networks

# Connect to a network
iwctl station wlan0 connect "Your_Network_Name"
# You'll be prompted for the password

# Verify connection
ping -c 3 archlinux.org
For Ethernet:
# Ethernet usually connects automatically
# Verify connection
ping -c 3 archlinux.org
2. Install Git and Clone HyprSpike
Next, install Git and clone the HyprSpike repository:
# Update package database
pacman -Syy

# Install git
pacman -S git

# Clone the HyprSpike repository
git clone https://github.com/HyprSpike/hyprspike.git

# Navigate to the installation scripts
cd HyprSpike/Scripts
BTRFS Partitioning Script
This script helps you set up a BTRFS filesystem with optimized subvolumes for your Arch Linux installation. Save this as btrfs-partitioning.sh and make it executable with chmod +x btrfs-partitioning.sh.
btrfs-partitioning.sh
Sets up BTRFS with optimized subvolumes for Arch Linux
#!/usr/bin/env bash
set -euo pipefail

# Ensure script is run as root
if [[ $EUID -ne 0 ]]; then
  echo "This script must be run as root."
  exit 1
fi

BASE_DEV="/dev/nvme0n1"
# Detect partitions
parts=( $(ls ${BASE_DEV}p* 2>/dev/null) )
if [[ ${#parts[@]} -eq 0 ]]; then
  echo "No partitions detected on ${BASE_DEV}."
  exit 1
fi

echo "Available partitions on ${BASE_DEV}:"
for p in "${parts[@]}"; do
  num=${p##*p}
  echo "  $num -> $p"
done

# Prompt for root btrfs partition
read -rp "Enter partition number to format as Btrfs (e.g., 5 for nvme0n1p5): " sel
TARGET="${BASE_DEV}p${sel}"
if [[ ! -b $TARGET ]]; then
  echo "Partition $TARGET does not exist."
  exit 1
fi

echo "Formatting $TARGET as Btrfs..."
mkfs.btrfs -f "$TARGET"

echo "Mounting $TARGET to /mnt..."
mount "$TARGET" /mnt

# Create subvolumes
echo "Creating subvolumes..."
btrfs subvolume create /mnt/@
btrfs subvolume create /mnt/@home
btrfs subvolume create /mnt/@log
btrfs subvolume create /mnt/@cache

# Unmount and remount with options
umount /mnt

MOUNT_OPTS="ssd,noatime,compress=zstd,space_cache=v2,discard=async"
echo "Mounting @ subvolume..."
mount -o ${MOUNT_OPTS},subvol=@ "$TARGET" /mnt

# Create mount points
echo "Creating directories for subvolumes and EFI mount..."
mkdir -p /mnt/{boot/efi,home,var/log,var/cache}

# Mount other subvolumes
echo "Mounting @home subvolume..."
mount -o ${MOUNT_OPTS},subvol=@home "$TARGET" /mnt/home

echo "Mounting @log subvolume..."
mount -o ${MOUNT_OPTS},subvol=@log "$TARGET" /mnt/var/log

echo "Mounting @cache subvolume..."
mount -o ${MOUNT_OPTS},subvol=@cache "$TARGET" /mnt/var/cache

# Mount EFI partition
echo
read -rp "Enter EFI partition (e.g., /dev/nvme0n1p1): " EFI_PART
if [[ ! -b $EFI_PART ]]; then
  echo "EFI partition $EFI_PART does not exist."
  exit 1
fi

echo "Mounting EFI partition to /mnt/boot/efi..."
mount "$EFI_PART" /mnt/boot/efi

echo "All done! Subvolumes created and mounted under /mnt."
How to Use the BTRFS Script
- First, create your partitions using
fdisk,cfdisk, orgdisk - Make sure you have at least:
- An EFI partition (usually 300-500MB, 512MB or 1GB recommended for multiple boot)
- A root partition (16GB+ recommended)
- Run the script:
./btrfs-partitioning.sh - Follow the prompts to select your root partition and EFI partition
- Once complete, you can proceed with the Arch installation using
pacstrap
Note for Beginners
This script is designed to simplify the BTRFS setup process, but you should still familiarize yourself with the Arch Linux Installation Guide. After running this script, you'll need to continue with the installation process (pacstrap, generating fstab, chroot, etc.).
Next Steps
After partitioning and setting up your filesystems, continue with the standard Arch installation (Assuming everything is correctly mounted at /mnt):
Install base packages
# pacstrap /mnt base base-devel linux linux-firmware vim
Generate fstab
# genfstab -U /mnt >> /mnt/etc/fstab Chroot into new system
arch-chroot /mntContinue with system configuration (timezone, locale, etc.)
ln -sf /usr/share/zoneinfo/Region/City /etc/localtime
# hwclock --systohc
Localization
locale-gen
# echo "LANG=en_US.UTF-8" | sudo tee /etc/locale.conf > /dev/null
Optional) If you want the console keyboard layout,
"# echo "KEYMAP=de-latin1" | sudo tee /etc/vconsole.conf > /dev/nullNetwork Configuration,
Replace 'arch' with your hostname
# echo "arch" | sudo tee /etc/hostname > /dev/nullNot really required but recommended to create a new initramfs
# mkinitcpio -PSet root password
# passwdInstall an AUR Helper of your choice (We'll use paru for now) (Optional but required for pkgs like btrfs-assistant
# pacman -Syu --needed git base base-devel
# git clone https://aur.archlinux.org/paru.git
# cd paru
# makepkg -si --noconfirm
Install sudo
# pacman -S sudo"Create a new user with sudo access
# sudo useradd -m -G wheel -s /bin/bash username
# passwd username
Allow user to use sudo
# sudo EDITOR=vim visudo
Now scroll down and uncomment the line:
%wheel ALL=(ALL:ALL) ALL
Install various BTRFS packages (Only required if you chose BTRFS filesystem)
# su username
$ paru -Syu --needed btrfs-assistant snapper snap-pac
Install additional packages as per your need, an example is listed below
# pacman -Syu sof-firmware networkmanager auto-cpufreq amd-ucode pipewire bluez bluez-utils blueman --needed
Install NVIDIA Drivers if you have Nvidia (PRO Tip: Nvidia really hates Linux :D)
# pacman -S nvidia-open
For detailed instructions, refer to Arch Wiki.
Enable important systemd services, an example is given below
  # systemctl enable NetworkManager.service
  # systemctl enable bluetooth.service
  # systemctl enable snapper-timeline.timer
  # systemctl enable snapper-cleanup.timer
Install a bootloader of your choice. For detailed instructions, refer to Arch Wiki.
Alternatively, you can install arch via:
archinstallFor instructions, refer the Arch Wiki.
After completing your base Arch installation, return to the HyprSpike Installation section to set up your customized Hyprland environment.
Preview
Here is the preview of the HyprSpike with some OP wallpapers ;)
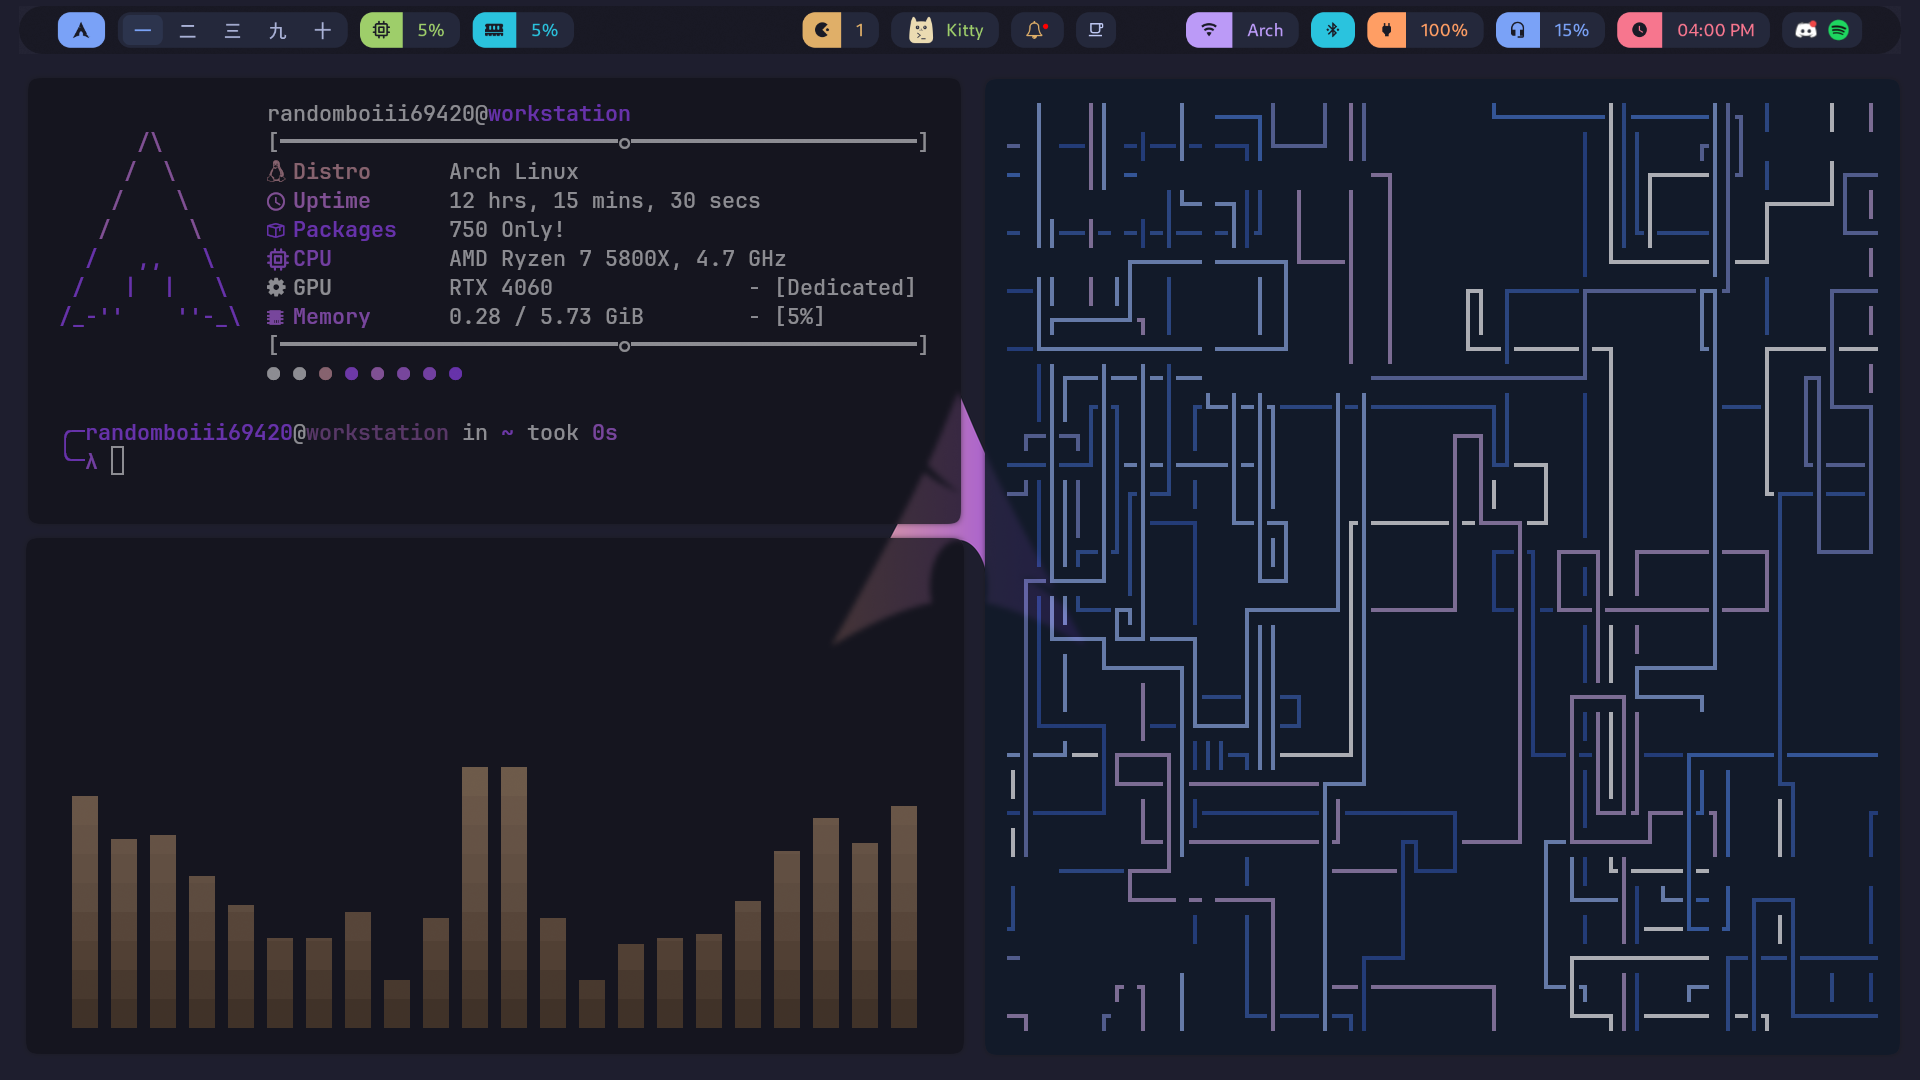
Preview #1
Fastfetch, Cava and Pipes.sh
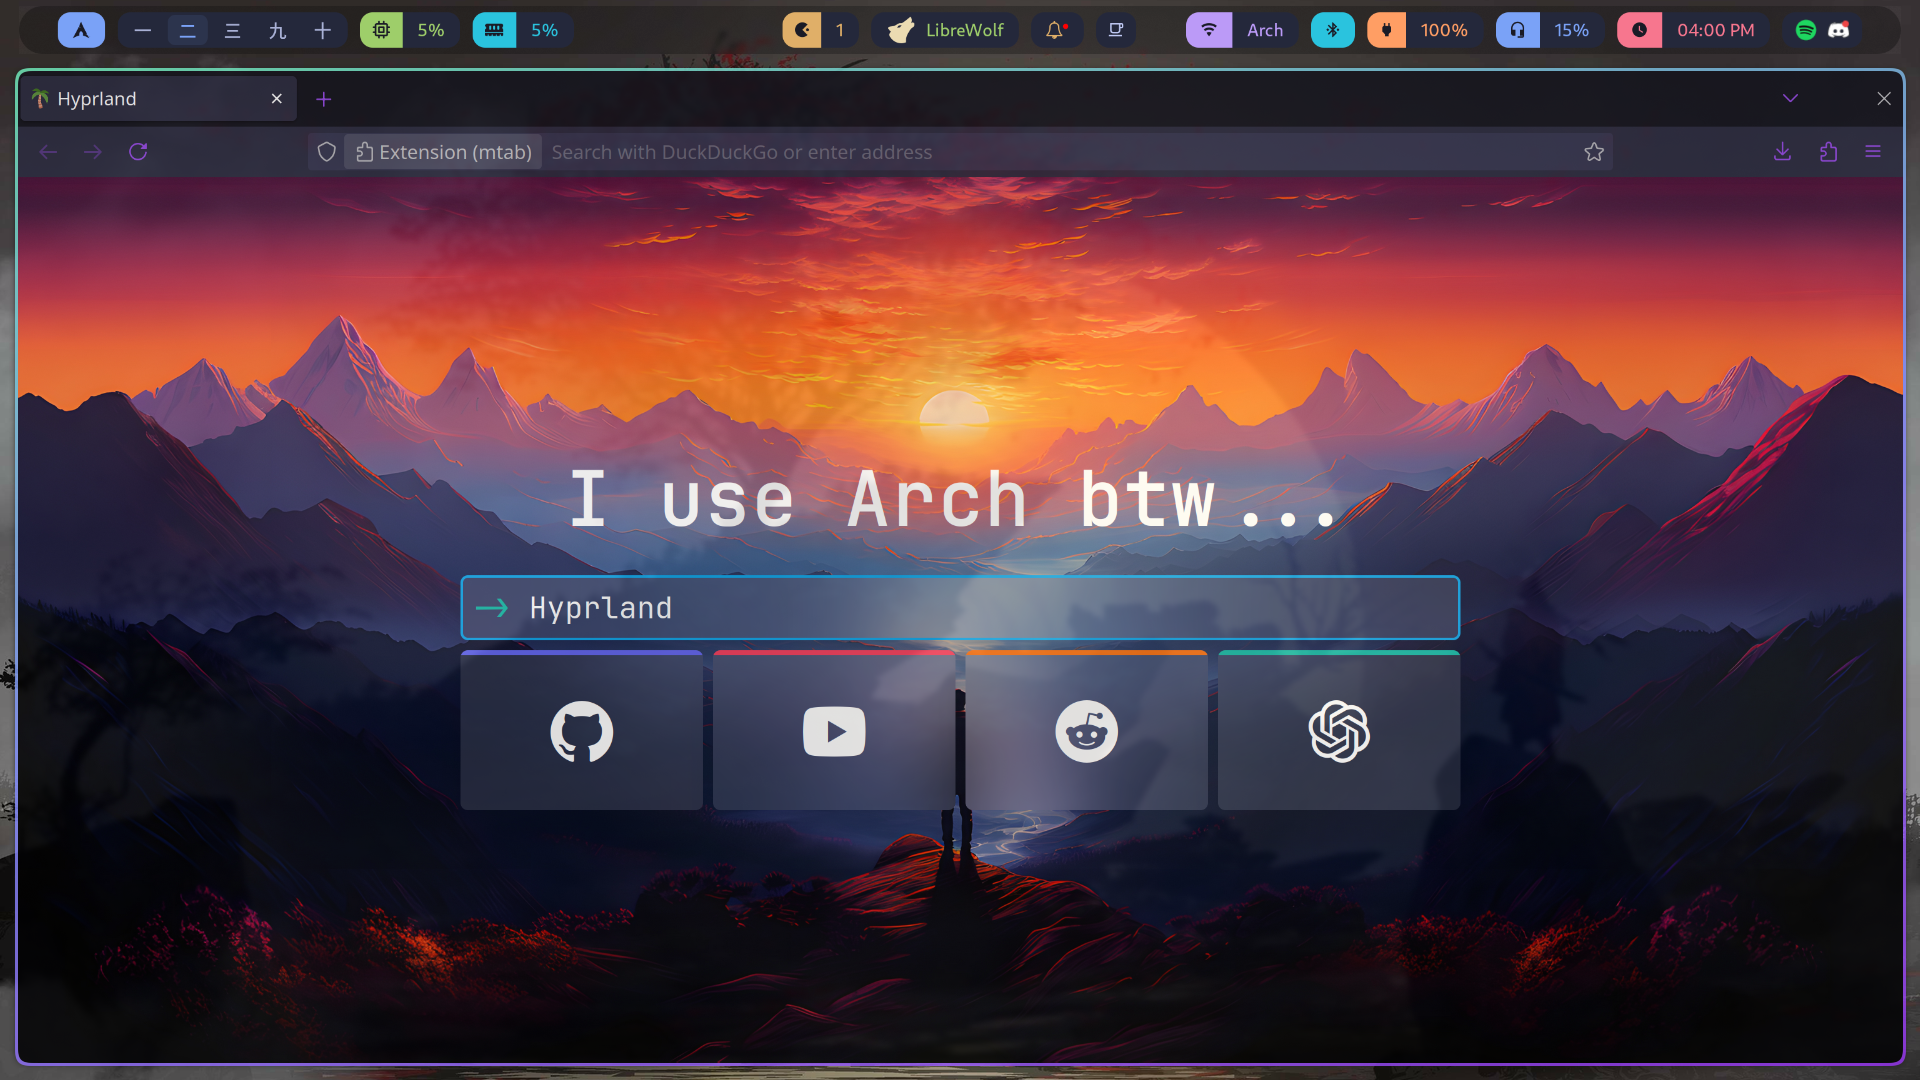
Preview #2
LibreWolf and Mtab

Preview #3
Asciiquarium and Cmatrix

Preview #4
Cowsay, lolcat, Cmatrix and toilet
Thank You!
Thank you for using HyprSpike — we really appreciate your feedback and support!
We use Arch btw
Made with <3 by random boi and Shreyash